
Plan Accessory Mounting Before Ordering
A mounting plan avoids buying an accessory that has nowhere suitable to go. Start with the boat construction and manufacturer-supported attachment methods rather than drilling or gluing assumptions.
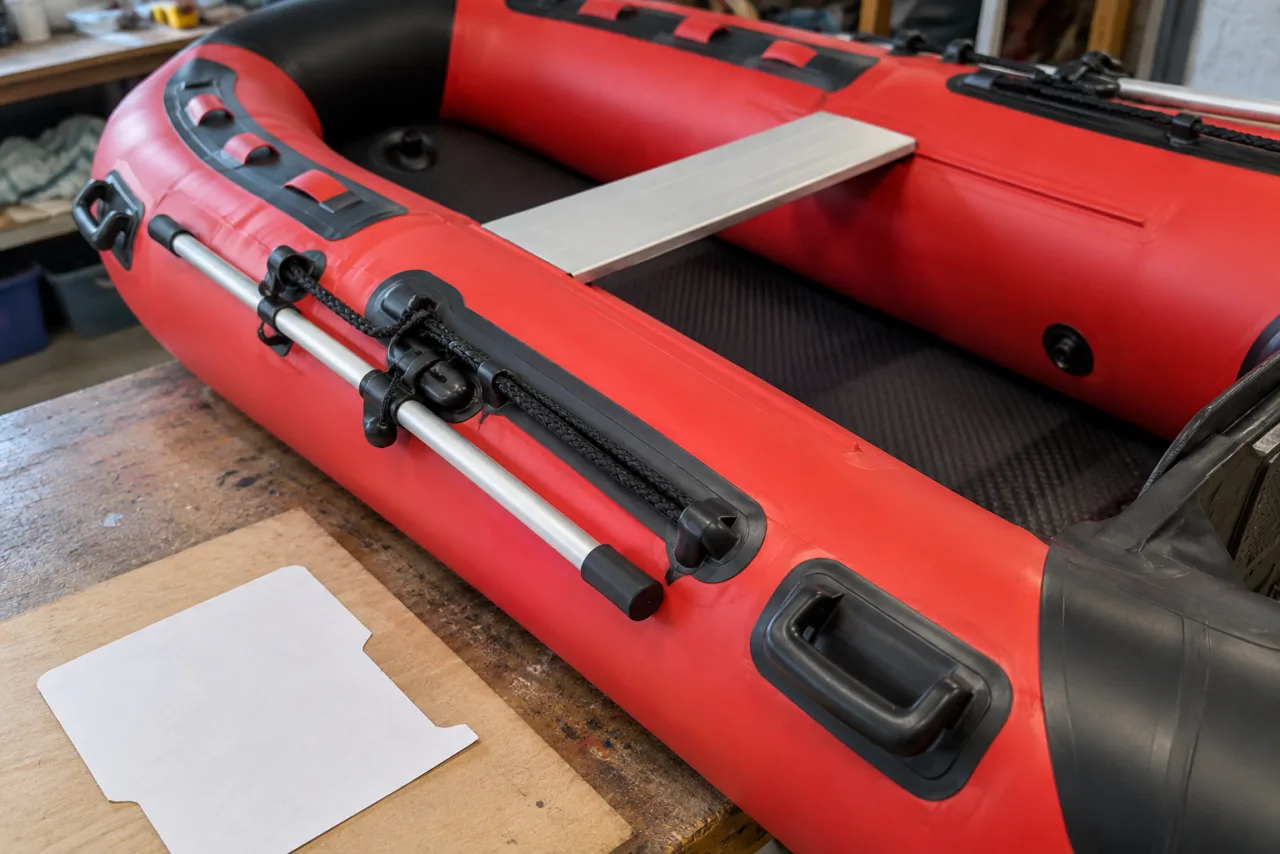
Map existing attachment points
Photograph the boat layout and identify the manufacturer-designated points for seats, equipment and other fittings. Record their dimensions and stated purpose. A handle, rope or decorative patch should not be treated as a universal structural mounting point.
Describe the complete accessory
Provide the mount dimensions, accessory mass and intended use. Moving loads, cable forces and user contact may create different requirements from static storage. Ask the boat and accessory suppliers to review the proposed combination and supply any necessary drawings.
Separate removable and permanent work
Confirm whether the supported system uses a clamp, bracket, bonded patch or another method. Request the exact installation instructions and who is qualified to perform them. Do not assume an adhesive suitable for one inflatable material will suit every coating or construction.
Record the approved layout
Include fitting identities, positions and installer responsibility in the purchase record. Check that equipment does not obstruct required movement, controls or access. If an accessory changes, repeat the review before treating the earlier approval as evidence for the new arrangement.
Procurement checklist
- Map manufacturer-designated mounting points.
- Provide accessory dimensions, mass and intended use.
- Approve instructions, layout and installer responsibility.
Frequently asked questions
Can a carry handle support any accessory?
No. Use it only within its documented purpose and limits.
Is drilling the transom a routine buyer adjustment?
Do not assume so. Obtain the manufacturer-supported installation details and appropriate professional review.